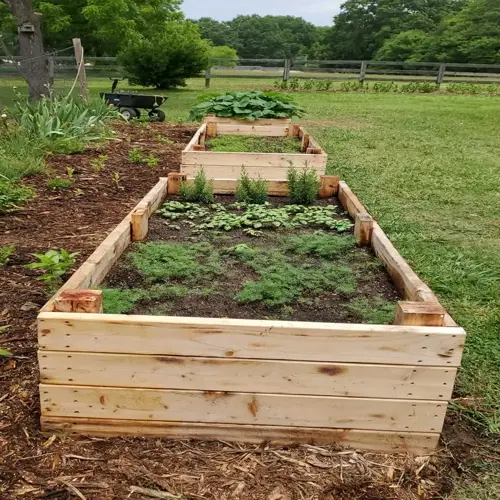

I scooped the grounds out of the morning pot dark and damp, still warm in my hand. I shook them in a thin ring around the no-till beds outside the back kitchen window. Within a few days the worms had pulled most of it under, and the surface was pocked with the little holes they leave behind. The whole patch smelled like wet earth after that.
So yes, coffee grounds add some coffee grounds nitrogen to your garden soil, but only a small amount. Used grounds run around 2% nitrogen by weight, which is real but modest. The bigger win is that they feed the soil life under your feet and slowly turn into food for your plants. That is why the worms in my bed showed up so fast.
Here is the catch you need to know about. A thick wet layer of grounds mats together and dries into a hard crust that water struggles to pass through. That crust can starve your soil of air and shed rain instead of letting it soak in. Your plants end up worse off, not better. Grounds work best when they go into coffee grounds compost first, or when you spread them very thin.
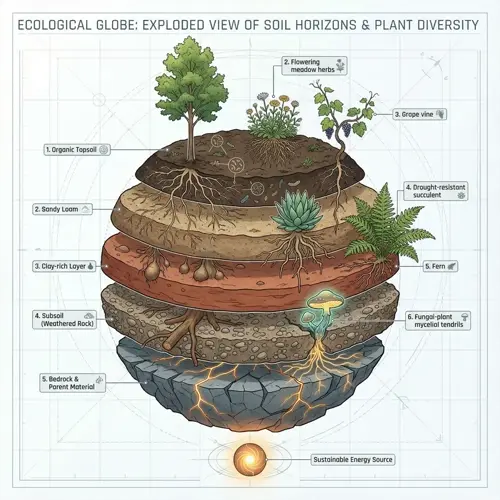
The mechanism behind all this is simple. Grounds bring a bit of nitrogen and a useful dose of organic matter that worms and microbes love to eat. As those tiny workers digest it, they release the nutrients in a form your roots can actually take up. So you are not really feeding the plant. You are feeding the soil, and the soil feeds the plant for you.
There are two safe ways to put your grounds to work. You can mix them into a compost pile, or you can fold a thin scatter into a wider mulch layer. Both keep the grounds from packing down into that water-blocking crust.
Mix grounds into a compost pile with plenty of dry, carbon-rich material like shredded leaves or cardboard. Or scatter a thin handful as one part of a varied mulch layer, never as a heavy standalone mulch.
When you compost them, aim for grounds to make up no more than about 20% of the pile. The rest should be browns that balance them out and keep the pile from going slimy. Turn it every week or two, and your grounds will vanish into rich, dark compost in a couple of months. That finished compost is worth far more to your beds than the raw grounds ever were.
If you want to skip the compost step, blend a thin scatter of grounds into wood chips, straw, or shredded leaves before you spread the mulch. The chunky material props the grounds apart, so air and water still reach the soil below. A light dusting once a week is plenty for most beds. Resist the urge to dump a whole week of grounds in one spot, since that is how you end up with a crust again.
One thing to be clear about. Your grounds are a supplement, not a complete fertilizer. They hand you nitrogen and organic matter, but little else. Your plants also need phosphorus and potassium to thrive, and grounds barely supply them. Lean on coffee grounds nitrogen alone and your beds will fall short well before the season is over. You will see it in pale leaves and slow growth.
For no-till beds, finished compost and a varied mulch do far more than coffee ever will. Together they build a deep, living top layer that holds water and feeds your roots for months at a stretch. Treat your grounds as a small, free bonus you toss into that bigger system, and let the worms keep doing the heavy lifting for you.
Read the full article: No Till Gardening: A Complete Guide