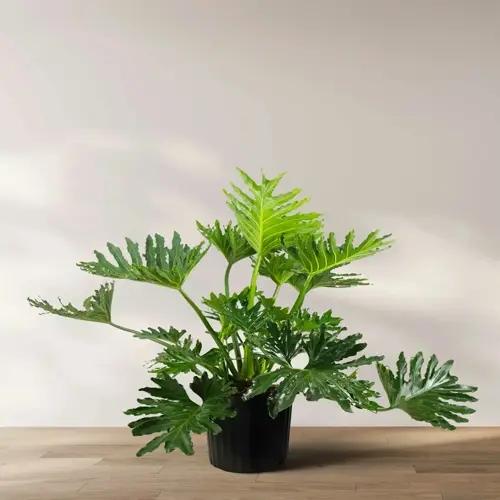

I snipped a stem just below a node from the plant on my east-window pole. Then I stood the cutting in a jar of water on the sill. Two weeks later, white roots threaded down through the glass. I did not feed it or fuss with it once. The whole trick is to cut below a node, set that node in a jar of water, and then wait while the roots grow. That is all there is to rhaphidophora tetrasperma water propagation, and you can do it on a sill.
The node is the part that matters. It is the small bump where a leaf meets the stem. Every root and new shoot grows from that spot. A piece of bare stem with no node will just sit in the jar and rot. No node means no roots, so check your cutting for one before you make the cut.
Look for a cutting that has at least one node. If you can, pick one with a stubby aerial root poking out near it. Those aerial roots are roots that already started forming on the plant. Drop them in water and they take off faster than a bare node does. One node will work on its own. The aerial root just gives you a head start, so grab it when you see it.
Cut about half an inch below a node with clean, sharp shears. This stem cutting node is what feeds your new roots, so wipe the blades first to keep bacteria out.
Place the cutting in a clear jar so the node sits under the surface and the leaf stays dry above it. Use room-temperature water that has sat out overnight.
Pour out the old water and add fresh water once a week. Swap it sooner if it turns cloudy or smells off, since murky water slows roots and invites rot.
Once roots reach 1 to 2 inches (2.5 to 5 cm), move the cutting into soil. This usually takes two to four weeks from the day you cut.
I check my jars every few days, and the first roots usually show up by week two. By week three or four they are long enough to pot. Warm rooms speed this up and cool rooms slow it down. If you see nothing after a month, lift the cutting and look at the node. A firm, pale node is still working. A mushy brown one is done, and you start fresh with a new cutting.
Light makes a real difference while you wait. Keep your jar in bright indirect light. A spot near a window that never gets harsh midday sun works best. Direct sun heats the water and can cook the tender roots before they get going. A bright shelf a few feet back from the glass is your safest bet. You want warmth and light, not a hot jar.
Cloudy water is your main warning sign. If your water goes murky, change it right away and give the jar a quick rinse. Clean water keeps rot from ever starting. This one habit clears up most failed tries when you propagate mini monstera cuttings. Stay on top of it and you rarely lose a cutting. Clear water plus a healthy node gets you roots almost every time.
When your roots look strong and reach a couple of inches, it is time for soil. Use a chunky aroid mix with bark, perlite, and a bit of potting soil. That blend drains fast and lets air reach the roots, which a mini monstera loves. Pack it loose, not tight. Water it in well and set the pot back in that bright indirect light. Your cutting settles into its new home within a week or two.
Read the full article: Rhaphidophora Tetrasperma Care Guide