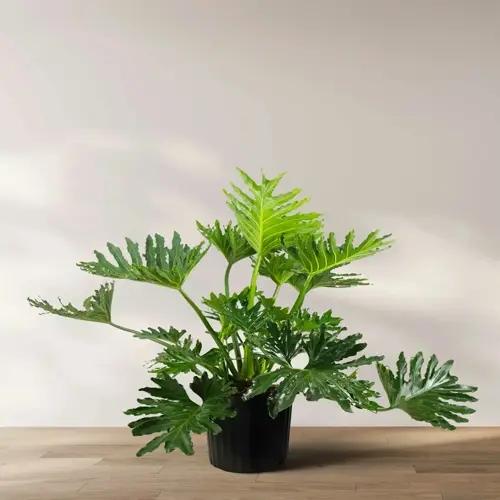

My plant on the east-window pole is now full and bushy, with new shoots pushing out in three directions. A year ago it was one long, leggy vine with bare stem between the leaves. I cut it back just above a node. That one snip started the turnaround. The answer to where you cut is simple. You always cut just above a node, never in the middle of a bare stem. That is the core rule for pruning rhaphidophora tetrasperma.
A node is the small bump where a leaf, an aerial root, or a side shoot grows from the stem. This is your pruning node, and it matters because new growth only comes from these points. Cut the bare stem between two nodes and that section just sits there. It will not push out a new leaf because it has nothing to grow from. You end up with a stub that browns at the tip and does nothing for months.
Spotting a node takes a few seconds once you know the signs. Look for a slightly thicker ring on the stem with a tiny brown nub or a leaf stalk attached. Many vines also show a small aerial root poking out near the node. That root is a clear marker that a growth point sits right there, so I aim my cut just past it.
When you cut about a quarter inch (half a cm) above a node, you leave that growth point on the plant. The vine wakes up the buds at that node and sends out fresh shoots from there. That is how one leggy stem turns into two or three new vines. The piece you removed still carries its own node too, so nothing goes to waste.
Here are the exact cuts to make for pruning rhaphidophora tetrasperma the right way. Follow them in order. Each step takes only a few seconds, and the plant grows back fast.
Look for the bump on the stem where a leaf or aerial root grows. Pick one with healthy stem on both sides.
Wipe sharp shears or scissors with rubbing alcohol so you do not spread disease between cuts.
Make one clean cut about a quarter inch (half a cm) above the node at a slight angle.
Drop the trimmed piece in water to root it, or toss it if you only want to shape the plant.
Do not throw out a healthy trimming. Any piece with at least one node is ready for stem cutting propagation, which is the easiest way to turn one plant into many. Put the cutting in a glass of water with the node fully under the surface. Keep the leaf above the water and set the glass in bright, indirect light.
Roots usually show in two to four weeks. Change the water every few days so it stays fresh and clear. Once the roots reach about an inch long, you can pot the cutting in fresh soil. I rooted four cuttings this way and gave two to friends. The other two went back into the same pot to make the parent plant look fuller.
Timing matters as much as placement. Prune during the growing season in spring and summer when the plant heals fast and pushes new growth quickly. Avoid heavy cuts in winter when the plant rests and recovers slowly.
Never remove more than about a third of the plant in one session. Take off too much and you stress the roots, which leaves the vine weak and slow to bounce back. If your plant is badly overgrown, spread the work across a few weeks instead of cutting it all at once. Clean tools and patience give you a fuller plant every time.
One last tip from my own pots. Make your cut on the leggy stems first, the ones with long gaps between leaves. Those are the parts dragging the plant's shape down, and they give you the best cuttings to root. Within a month you should see fresh shoots breaking from the nodes you left behind, and the whole plant starts to fill in.
Read the full article: Rhaphidophora Tetrasperma Care Guide