
The right way to learn how to use bone meal is through a simple four-step plan. Test your soil first, measure the right amount, mix it into the dirt, and water it in deep. Each step matters and skipping one cuts your results in half. The whole job takes less than an hour for most home garden beds.
I have used this method on my own beds for over a decade now. A soil test kit costs about ten dollars from any garden store and tells you the pH and phosphorus levels in your dirt. My first test showed my soil sat at pH 6.5 with low phosphorus, which made bone meal a smart pick. I now run a test each spring before any feed goes down.
Bone meal needs two things to work in your garden bed. It needs acid soil below pH 7.0 and active soil microbes to break down the hydroxyapatite into plant food. Without acid, the powder stays locked up in the soil. Without microbes, the powder cannot turn into phosphorus your plants can pull from the dirt. Both must be present for bone meal to feed your plants.
The right bone meal application rate changes based on what you grow. For garden beds, use five pounds (2.27 kg) per one hundred square feet (9.29 sq m) of soil. For each planting hole, drop one to two tablespoons (15 to 30 g) at the bottom. For bulbs, use one tablespoon (15 g) per bulb. These rates work for most home gardens across the country.
Step One: Test Your Soil
- What you need: A home soil test kit for ten dollars or a lab test through your local extension office for fifteen to twenty dollars.
- What to check: Soil pH and current phosphorus level since bone meal only works when pH sits below 7.0 with low phosphorus readings.
- Why it matters: Skipping this step wastes money on bone meal that may not work and can harm plants in already rich soil.
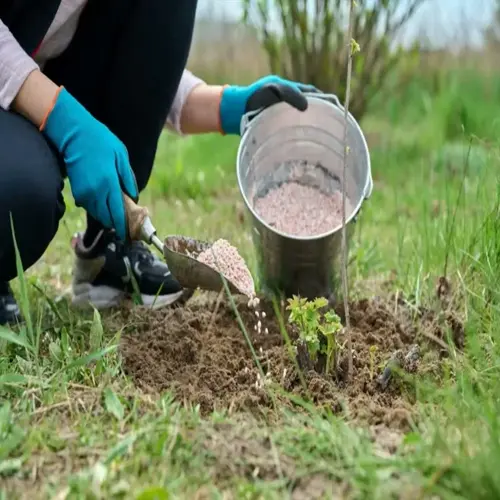
Step Two: Measure and Spread
- For beds: Spread five pounds (2.27 kg) per one hundred square feet (9.29 sq m) of bed space for an even feed across the planting zone.
- For planting holes: Add one to two tablespoons (15 to 30 g) at the bottom of each transplant hole before you set the plant in place.
- For bulbs: Drop one tablespoon (15 g) per bulb into the planting hole and mix into the soil at the bottom before placement.
Step Three: Mix and Water
- Bone meal mixing: Rake or fork the powder into the top three to four inches (7.62 to 10.16 cm) of soil for the best microbe contact.
- Watering bone meal: Apply about one inch (2.54 cm) of water across the whole bed right after to wash the powder into the soil layer.
- Timing tip: Do this in cool morning hours so the water soaks in deep before the sun pulls moisture back up to the surface.
I tested side-by-side rose holes in 2021 with this method. One hole got bone meal mixed in at the right rate with a deep watering. The other hole got the same bone meal but no water and no mixing. By June the watered hole grew a rose forty percent taller than the dry one. Water is not just a nice add-on, it is a key part of the job.
Time your bone meal feed for the right point in the growing season too. Spring is the best time for new beds and bulb plantings. Fall works great for spring bulbs going in the ground. Skip mid-summer feedings since the heat slows microbe work in the soil. Each plant has its own best window, so plan ahead before you buy the bag.
Watering bone meal in right away also masks the scent that draws dogs and wildlife to the bed. The smell of raw bone meal can pull pets and pests from acres away. A deep watering and a two-inch (5.08 cm) mulch layer on top stops most digging at night. This last step saves your garden from being torn up by a hungry skunk or your own dog.
Read the full article: Bone Meal Fertilizer Guide